Ready-to-Fly Drones · Shop by specification
Find the right ready-to-fly drones faster.
Choose the aircraft type and package format that matches how quickly you want to get flying.
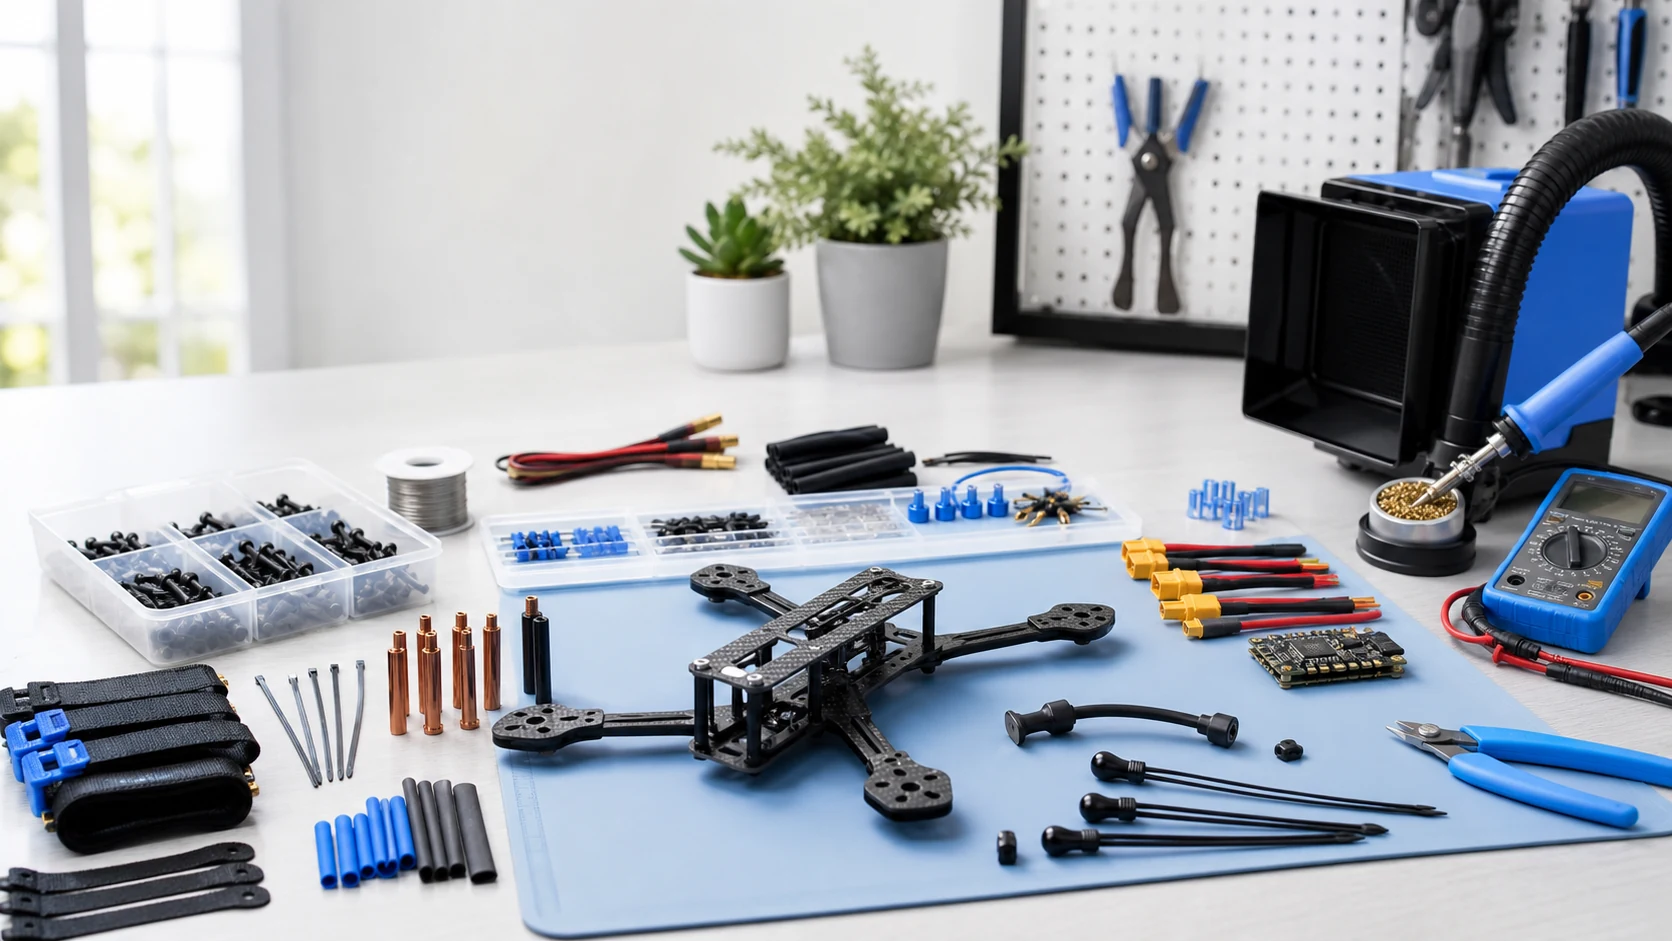
FPV build accessories are the small parts that determine whether a compatible component can actually be installed, powered, protected and serviced. Choose them from measured dimensions, electrical ratings and the exact build stage, not from a generic “fits FPV” label. A correct accessory should solve a defined mechanical, electrical or maintenance requirement without creating a new failure point.
| Build stage | Useful accessory groups | Primary checks |
|---|---|---|
| Frame assembly | Screws, standoffs, gummies, thread treatment, battery pads and straps | Diameter, pitch, length, material and carbon clearance |
| Electrical build | Wire, connectors, heat-shrink, capacitor, insulation and strain relief | Voltage, current, polarity, gauge, temperature and routing |
| Radio/video installation | Antennas, adapters, mounts, extension cables and protective tubes | Frequency, connector gender, polarization, impedance and active-element clearance |
| Setup and test | Multimeter, smoke stopper, soldering tools, USB cables and configuration adapters | Measurement range, connector pinout and software support |
| Field service | Propellers, hardware, straps, tools, tape, spare antenna and recovery buzzer | Exact model fit, pack weight and safe transport |
M2, M2.5, M3 and other labels describe nominal thread size, not usable length or head clearance. Measure the frame arm, motor base, stack height and thread depth. Motor screws must not reach the windings. Stack screws must hold the board without crushing soft mounts or touching components. A replacement arm, plate or canopy is model-specific unless the drawing proves otherwise.
Wire gauge, connector family and capacitor voltage must suit the complete power system. Confirm polarity with a meter rather than wire color. Keep solder joints mechanically supported, insulate exposed conductors and protect wiring from propellers and carbon edges. A plug that physically connects may still use a different pin order.
Record frequency band, connector family, connector gender and polarization. SMA and RP-SMA can look compatible but use different center contacts. U.FL-style micro connectors have limited mating cycles and require strain relief. Keep the active antenna element clear of carbon, battery and high-current wiring, and never power a video transmitter that requires an antenna while the antenna is disconnected.
Propellers, straps, motor screws and antenna mounts are common field items, but a useful kit is build-specific. A tinywhoop needs different propellers, shafts and connectors from a 5-inch freestyle quad. Label spare parts by exact model or dimension so a similar-looking part is not installed by mistake.
Browse FPV accessories and repair parts, then use the Repair & Upgrade path. For a new aircraft, start with the Beginner or 5-inch Freestyle build path. If a legacy accessory listing is unavailable, send WXBMW its dimensions, connector, electrical rating and target model.
No. Compare every pin at both ends, including battery voltage, ground, signals, telemetry and current sensor.
No. Length, head style, material, engagement and clearance matter. A motor screw can damage windings even when the thread diameter is correct.
There is no universal list, but exact propellers, battery straps, basic hardware and the tools required by that build are practical starting points.
Next step after this guide
Use the guide to define the required specifications, verify the aircraft-level Build path, then compare current WXBMW parts. Recheck voltage, mounting, protocol, connector and load compatibility before ordering.
No in-stock WXBMW option is shown for this exact category right now. Use the specification-match request instead of assuming a nearby item is compatible.
No account yet?
Create an Account