Ready-to-Fly Drones · Shop by specification
Find the right ready-to-fly drones faster.
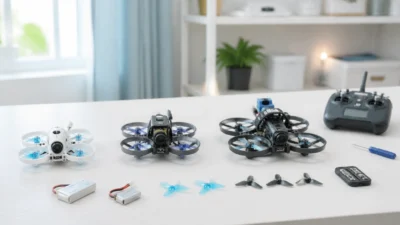
Choose the aircraft type and package format that matches how quickly you want to get flying.
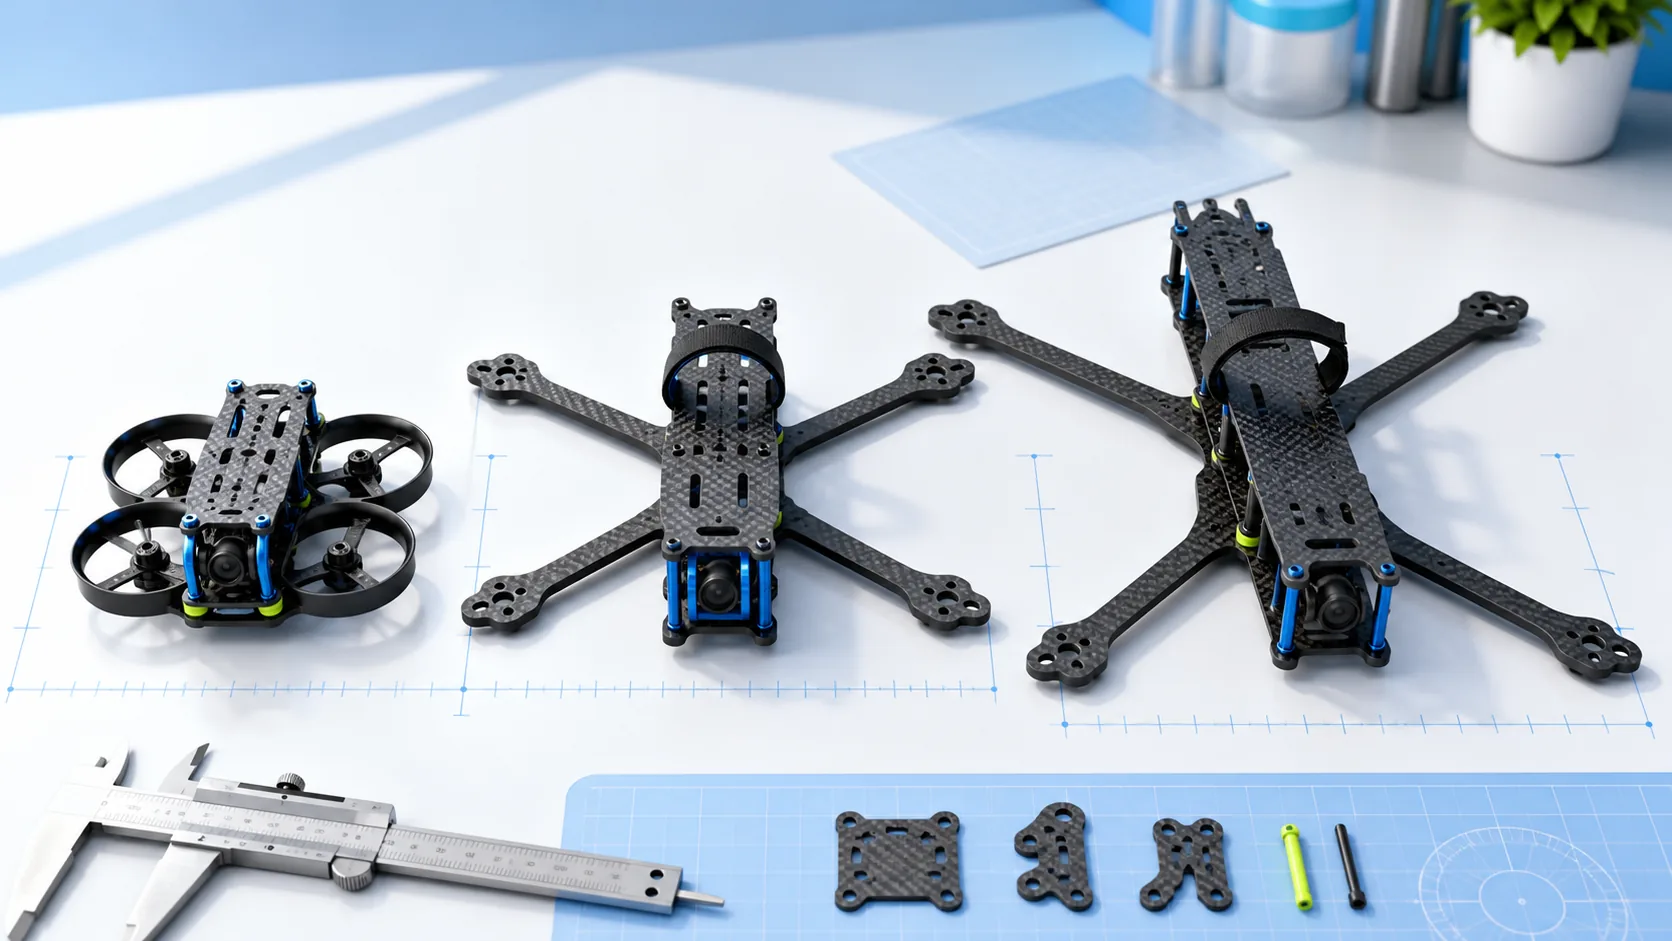
The frame defines the propeller envelope, component layout and repairability of an FPV build. Choose it before buying motors, electronics and a battery, then verify every mounting pattern and clearance against the actual product drawings.
| Build type | Frame priorities | Check before buying |
|---|---|---|
| Beginner / protected build | Prop protection, durable layout, accessible components | Receiver/video ecosystem, weight and replacement ducts/arms |
| Cinewhoop | Duct size, camera payload, airflow, vibration control | Prop clearance, motor loading and total all-up weight |
| 5-inch freestyle | Arm strength, balanced component space, easy motor/arm service | 5-inch prop clearance, 20×20 or 30.5×30.5 stack fit, camera width |
| Long range | Efficient layout, antenna/GPS placement, battery capacity | Prop efficiency, battery mounting, receiver/video separation |
| Heavy lift / cinelifter | Payload structure, motor spacing, redundancy and power distribution | Motor/prop envelope, frame load limits and verified power-system data |
A “5-inch frame” does not guarantee clearance for every 5-inch propeller shape. Check motor-to-motor spacing, dead-cat or true-X geometry, camera position and whether props enter the camera view. Wider or higher-pitch props can also increase motor and ESC load even when they physically fit.
Use component heights, connector orientation and cable bend radius, not just board width. Leave room for capacitor placement, battery leads, USB access and airflow. A technically compatible stack can still be difficult to assemble if its plugs face a frame brace or the battery strap crosses the electronics.
Thicker arms can resist damage but add weight. Very light frames can improve response but may transmit vibration or require more frequent arm replacement. Look for replaceable arms, protected edges, accessible screws and parts availability. Carbon thickness alone does not describe the complete frame; plate shape, grain orientation, hardware and load path also matter.
Browse FPV frames and kits, then follow the 5-inch Freestyle, Cinewhoop or Long Range build path. If the exact dimensions or mounting drawing are missing, ask WXBMW to verify the specification before ordering or requesting OEM production.
It is a useful category signal, but it is not enough. Verify motor spacing and the manufacturer’s supported propeller range for the exact geometry.
Sometimes an adapter is available, but hole spacing, stack height, connector access and vibration isolation must all be checked.
For most new builds, choose the flight goal, propeller envelope and frame first. Then select the motor KV/stator, ESC, battery and propeller as a matched power system.
Next step after this guide
Use the guide to define the required specifications, verify the aircraft-level Build path, then compare current WXBMW parts. Recheck voltage, mounting, protocol, connector and load compatibility before ordering.
No in-stock WXBMW option is shown for this exact category right now. Use the specification-match request instead of assuming a nearby item is compatible.
No account yet?
Create an Account